March 14, 2019
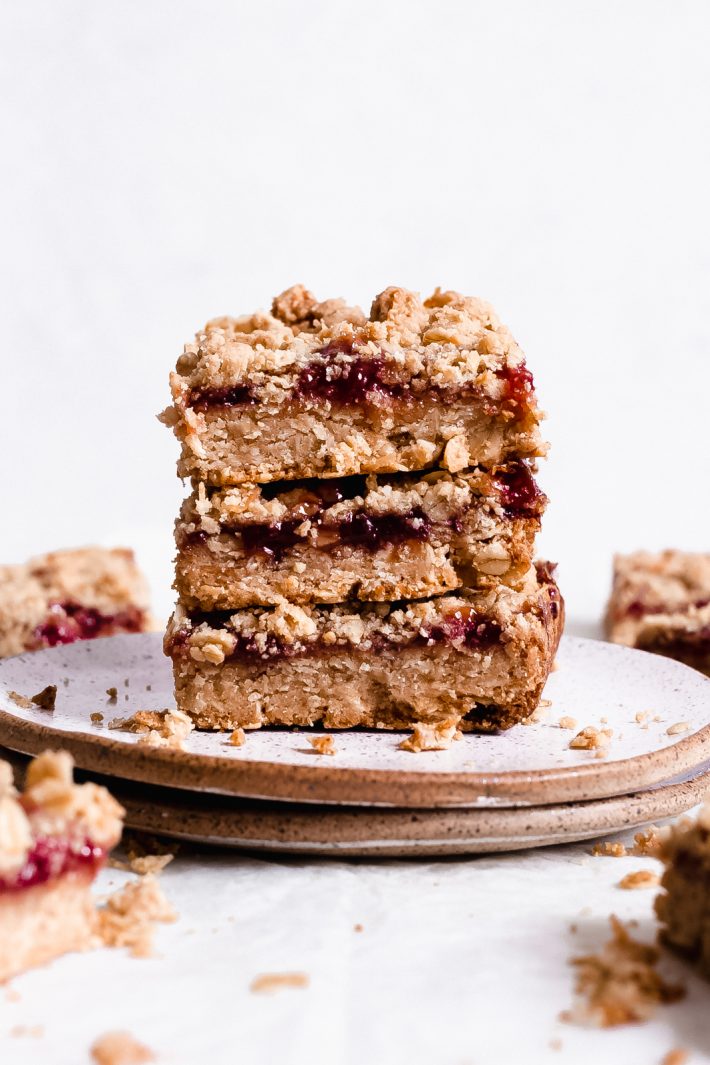
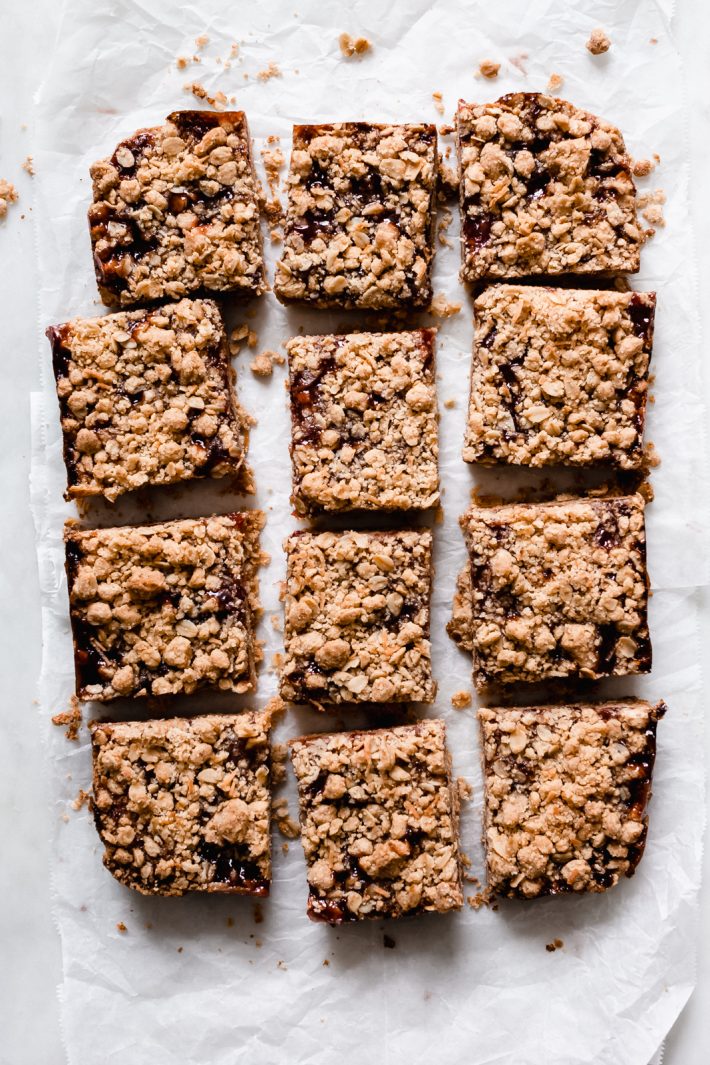
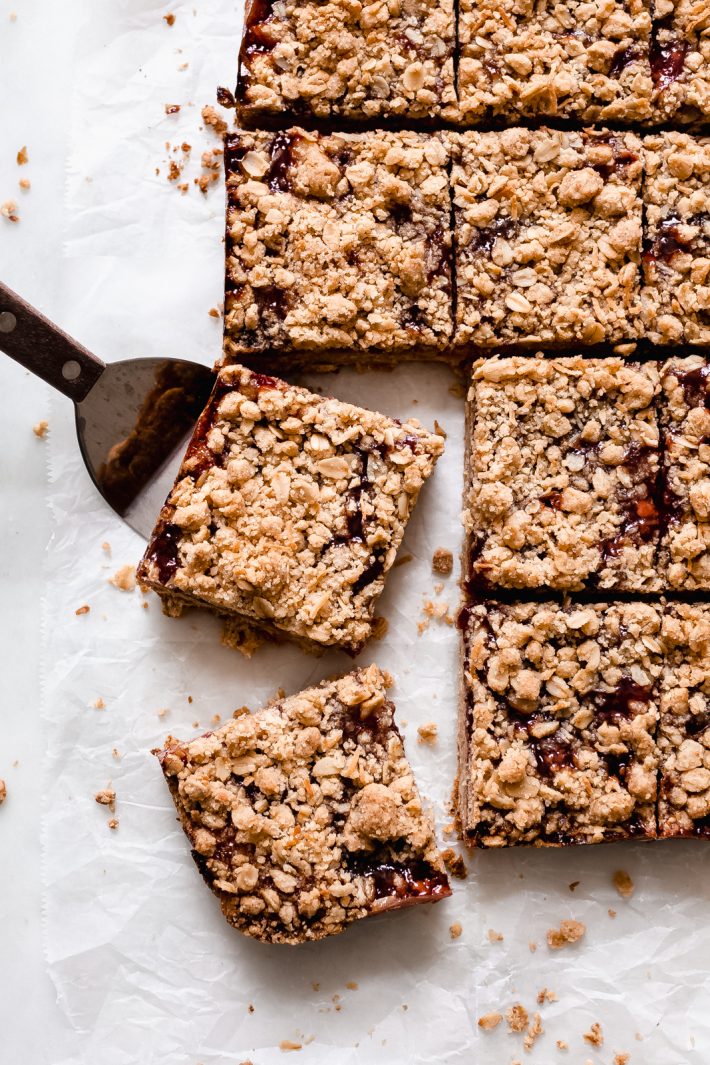
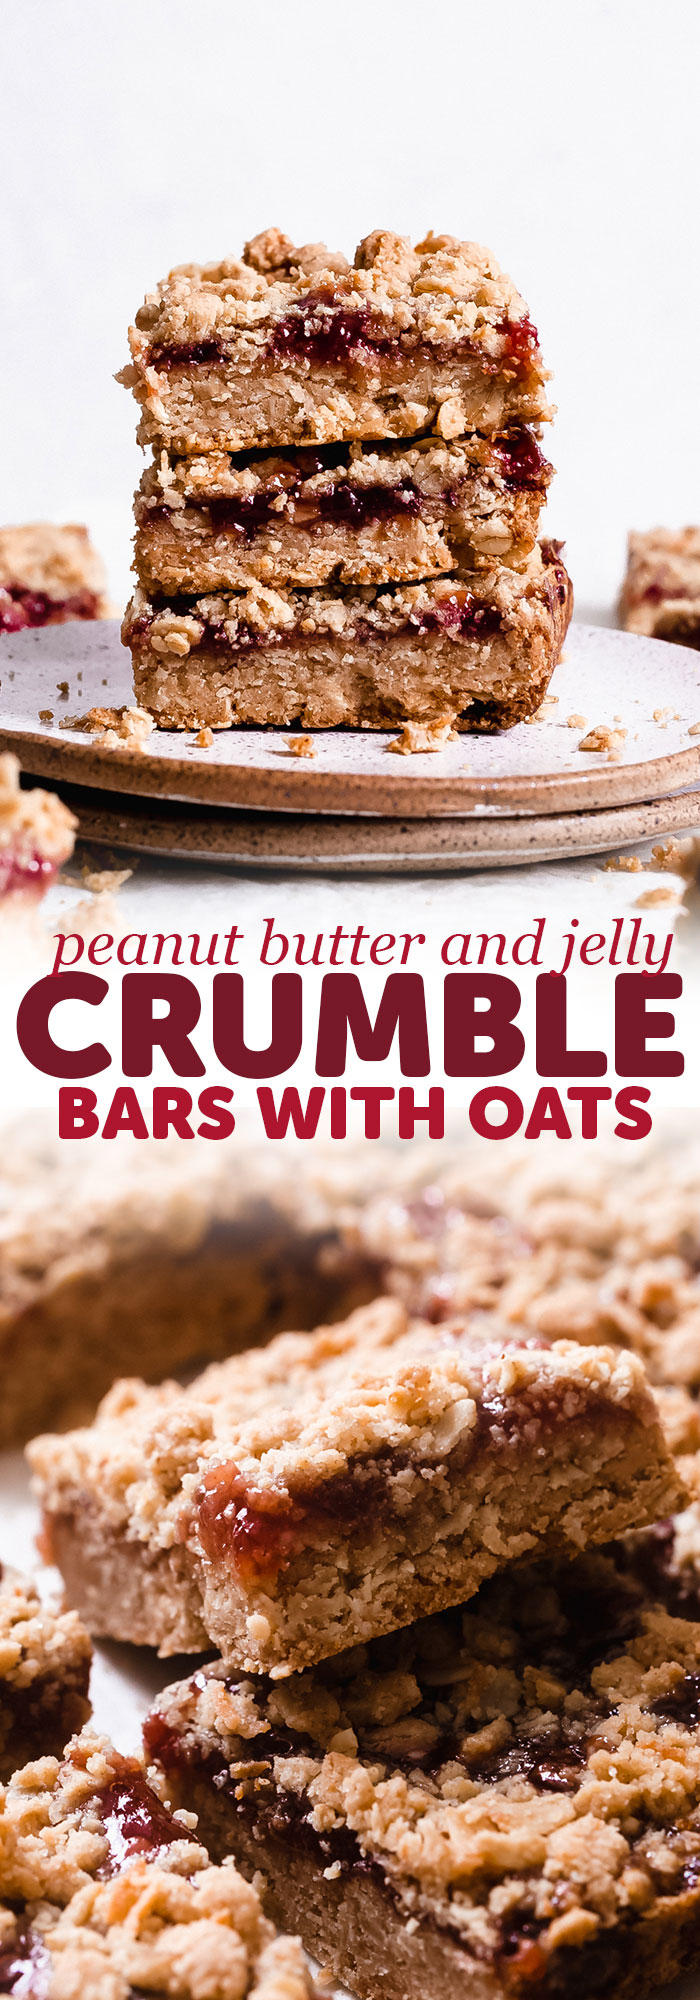
The easiest peanut butter and jelly oat bars. These take about 5 minutes to prep and are so addicting! Peanut butter and jelly oat bars are perfect for your spring get-togethers!
It’s peanut butter jelly time!
I’m a sucker for a good strawberry jam! Whenever there’s a jar in the refrigerator, I find myself swirling a bit into my vanilla yogurt for a snack. Spread it thick on a peanut butter and jelly sandwich. And too often than not my breakfast is an English muffin, smeared with little creamy salted Irish butter and, you guessed it, more strawberry jam!
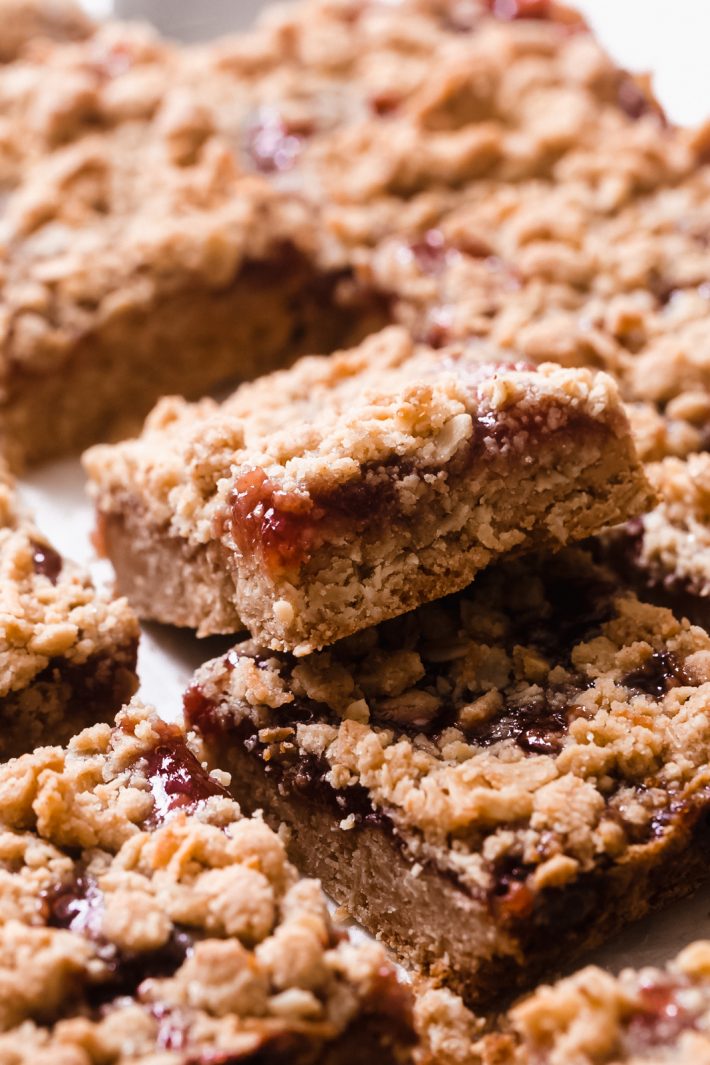
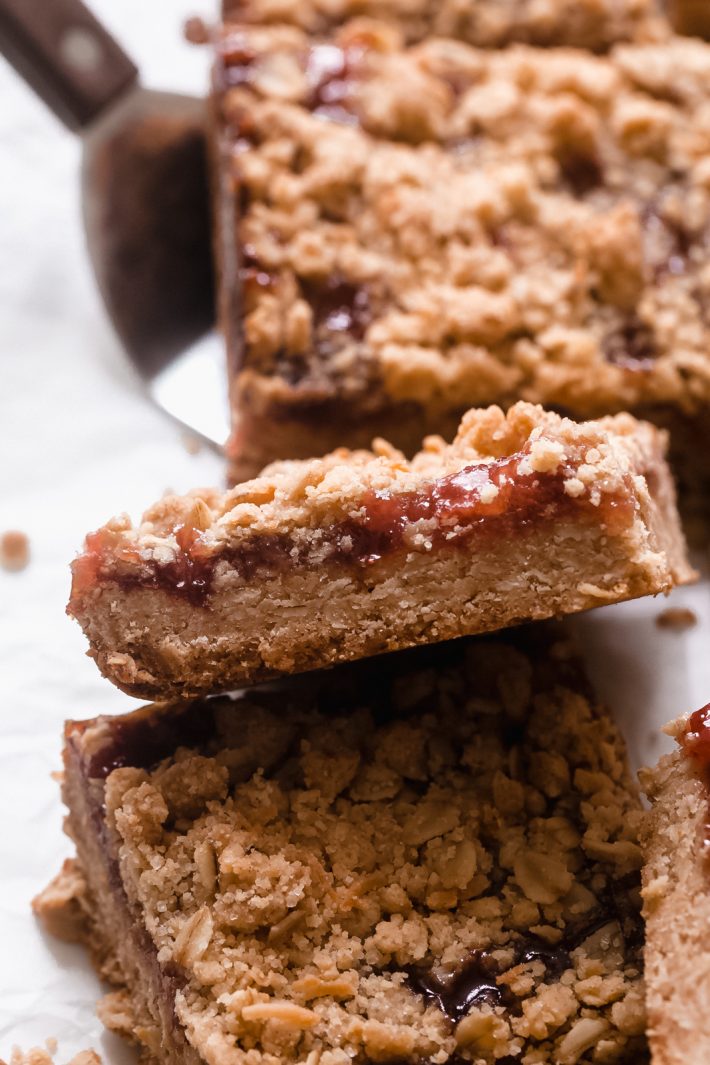
So today I’m turning my all-time jelly obsession into oat crumble bars. PB&J oat bars are like a peanut butter and jelly sandwich, but with an oat crust and omgosh, it’s so good! These bars are nutty and sweet, but not overly sweet. They have just the right amount of sugar to make it taste like dessert but doesn’t set my teeth on edge. The older I get, the more I just can’t take super sweet desserts.
Call this a sophisticated pb&j bar if you’d like.
Oat crumble bars are totally my jam (pun intended, because how could I not?) I’ve shared an apple crumble version in the fall with you. We diced up apples and layered them between an oat crust and an oat crumble on top. One of the reasons I love these types of oat crumble bars is because the crust also doubles as the topping. It’s all made in one bowl and takes hardly any time at all.
Quick desserts like these jelly oat bars are perfect for impromptu game nights, pot lucks and all sorts of spring get-togethers.
WHAT INGREDIENTS DO YOU NEED TO MAKE PEANUT BUTTER AND JELLY OAT BARS
- all-purpose flour
- rolled oats
- shredded sweetened coconut (optional)
- salted butter
- sugar
- creamy peanut butter
- baking powder
- ground cinnamon
- jam
WHY ROLLED OATS?
It’s important to note that this recipe calls for rolled oats (sometimes called, old-fashioned or even whole oats) and not quick cooking oats. Quick cooking oats, unfortunately, aren’t a good substitute because as the name suggests, they cook much faster than old fashioned oats and would require a different ratio of butter, sugar, etc. For best results, I recommend using rolled oats for today’s oat bars.
WHAT KIND OF PEANUT BUTTER SHOULD I USE FOR OAT BARS?
Creamy peanut butter is what I prefer here, and I’m not sure if crunchy peanut butter would work as I haven’t tried using it in these oat bars before. My best guess is that it should be fine if you prefer a crunchier texture!
WHAT FLAVORS OF JELLY WOULD WORK WELL HERE?
Pretty much anything you like!
- raspberry
- strawberry
- blackberry
- grape
- mixed berry
- cherry
Basically anything that you’d want to pair with peanut butter should work.
IM ALLERGIC TO COCONUT, DO I HAVE TO USE IT IN THE OAT BARS?
Nope! I prefer to use it here because I love the nuttiness it lends to these oat bars. However, the recipe will work equally well without it!
HOW TO MAKE THE CRUST AND CRUMBLE FOR PEANUT BUTTER JELLY OAT BARS
Grab a bowl; we’re going to melt the butter and the peanut butter together in a microwave-safe bowl first.
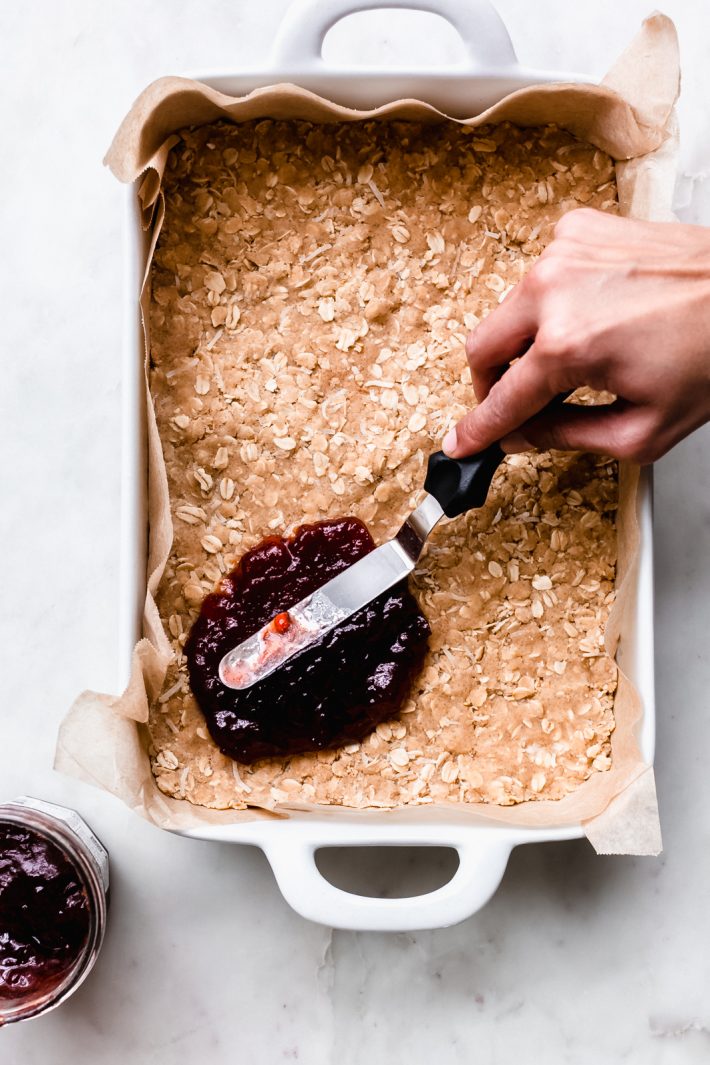
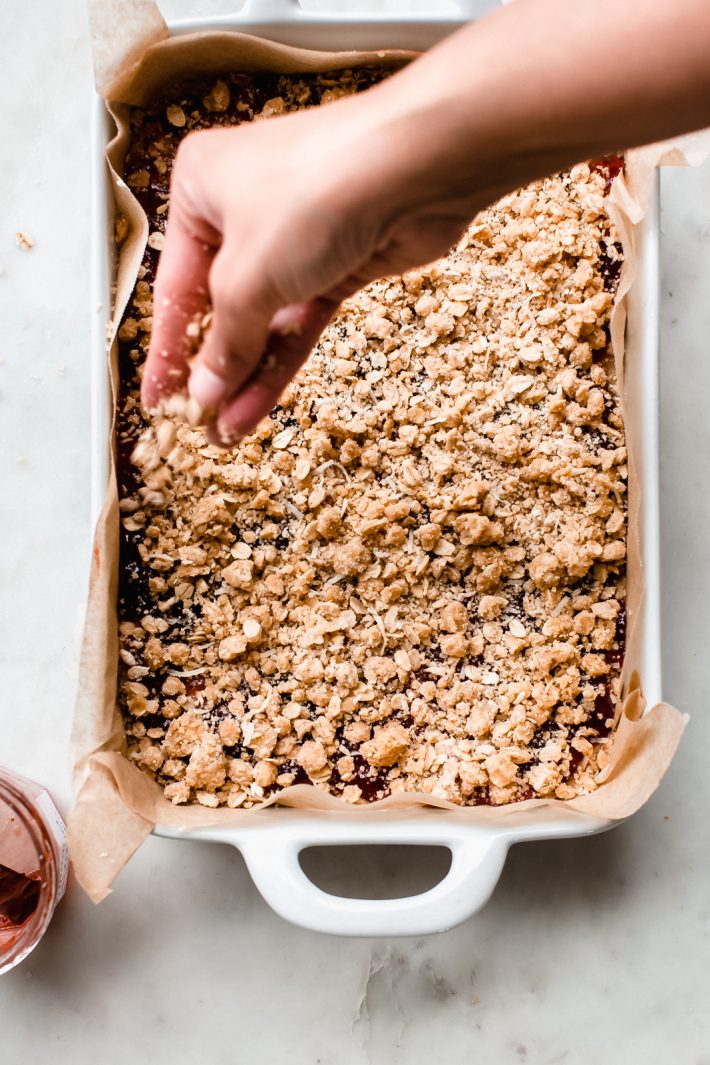
Okay, so I wasn’t kidding when I said these bars are so easy to make! Mix all the dry ingredients except in a bowl and slowly pour in the melted butter mixture while you stir or mix using a fork or spoon. When the mixture resembles a sand-like texture, it’s done. Press two-thirds of the mixture into your baking dish and keep the last one-third for the crumble topping! Spread not the jelly in an even layer and top it with the reserved crumble. That’s it!
TIPS FOR SUCCESS WHEN YOU MAKE PEANUT BUTTER AND JELLY OAT BARS
- Here (affiliate link) is the baking pan I used. It’s a 12X9.5 rectangle pan so the bars are thicker than what they’d be if you used a traditional 13×9. You can make the same thing in a 13×9 pan but keep in mind that the bars will be slightly thinner and you’ll need to decrease the baking time by a couple of minutes.
- Be sure to pack in the crust. You don’t want the bottom to crumble (quite literally)
- Use good quality jam here! I’d splurge and use something you love spreading on toast or swirled into your midday yogurt.
- Let the peanut butter and jelly oat bars cool completely before trying to remove them from the baking pan. At least an hour, longer if you can. Once they’ve cooled for an hour, I usually stick them in the refrigerator and let them cool completely, and it makes it so much easier to slice them that way. If you need them sooner, let them cool on the counter for 15-20 minutes and then stick them in the freezer.
Peanut butter jelly oat bars are salty and sweet and buttery and coconuty and oh so good!
Yield: 12-24 bars
Peanut Butter and Jelly Oat Bars
Total Time:50 mins
The easiest peanut butter and jelly oat bars. These take about 5 minutes to prep and are so addicting! Peanut butter and jelly oat bars are perfect for your spring get-togethers!
Ingredients:
- 2 ½ cups all-purpose flour
- 2 cups rolled old-fashioned oats
- 1 cup salted butter (see notes)
- ¾ cup EACH: granulated sugar AND creamy peanut butter (the kind that doesn’t require stirring!)
- ⅓ cup shredded sweetened coconut, optional
- 1 teaspoon EACH: baking powder AND ground cinnamon
- 1 (13 ounce) jar of jam (strawberry, grape, raspberry, whatever you like!)
Directions:
- CRUMBLE: Position a rack in the center of the oven and preheat the oven to 350ºF. Combine the peanut butter and the salted butter in a microwave-safe bowl and zap in the microwave in 30-second increments until the mixture melts and mixes. Mix the oats, flour, sugar, coconut (optional,) baking powder, and ground cinnamon together in a large bowl. Pour in the melted butter mixture and stir to combine until you form a sand-like crumb. Press two-thirds of the prepared crumb mixture into the prepared pan. You want to make sure the crust is tightly packed in.
- SPREAD: Spread the jam over the oat crust layer.
- BAKE: Top with the remaining crumb mixture on top. Bake for 40-45 minutes. Remove from the oven and place on a wire rack for one hour. I usually stick mine in the refrigerator for a few hours after that to cool them down completely before cutting into pieces. If you cut them right away, they’ll still be delicious, just not as neat!
© Little Spice Jar. All images & content are the sole property of Little Spice Jar. Please obtain permission prior to using my images. If you would like to republish a recipe, please link back to this post and re-write the instructions in your own words.
Love this recipe?
Have you made this recipe? Take a picture and share it on Instagram using the hashtag #LITTLESPICEJAR. I love seeing your delicious creations!

